Nik Collection 7
Get inspired
These professional photographers love Nik Collection 7 . Find out why.
- Camera: Nikon D700
- Lens: 135mm f/2
- Parameters: ISO 200 - 1/200s - f/9 - 135mm
- Adobe Photoshop
- Nik Viveza
Unlimited creativity.
PHOTO FOCUS
Introducing Espen Helland,
nature photographer
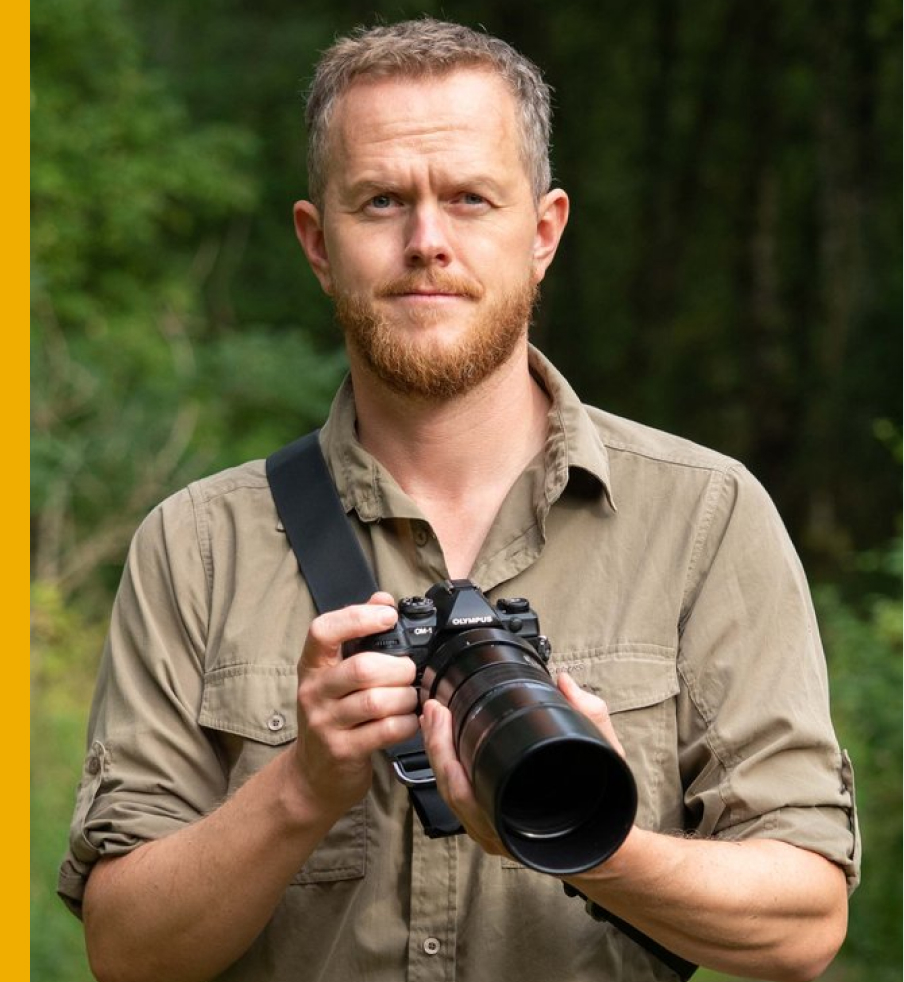
Ecologist, ornithologist, photographer
Based in Scotland, Espen loves to immerse himself in the calmness and tranquility of nature — something that also inspires his editing.
I like to create minimal changes, enough to guide the viewer’s attention using light, contrast, and detail. Nik Collection 7 makes doing that faster and more enjoyable.
Keep reading to find out how Espen uses Control Points in Nik Viveza and Nik Color Efex to produce stunning imagery.
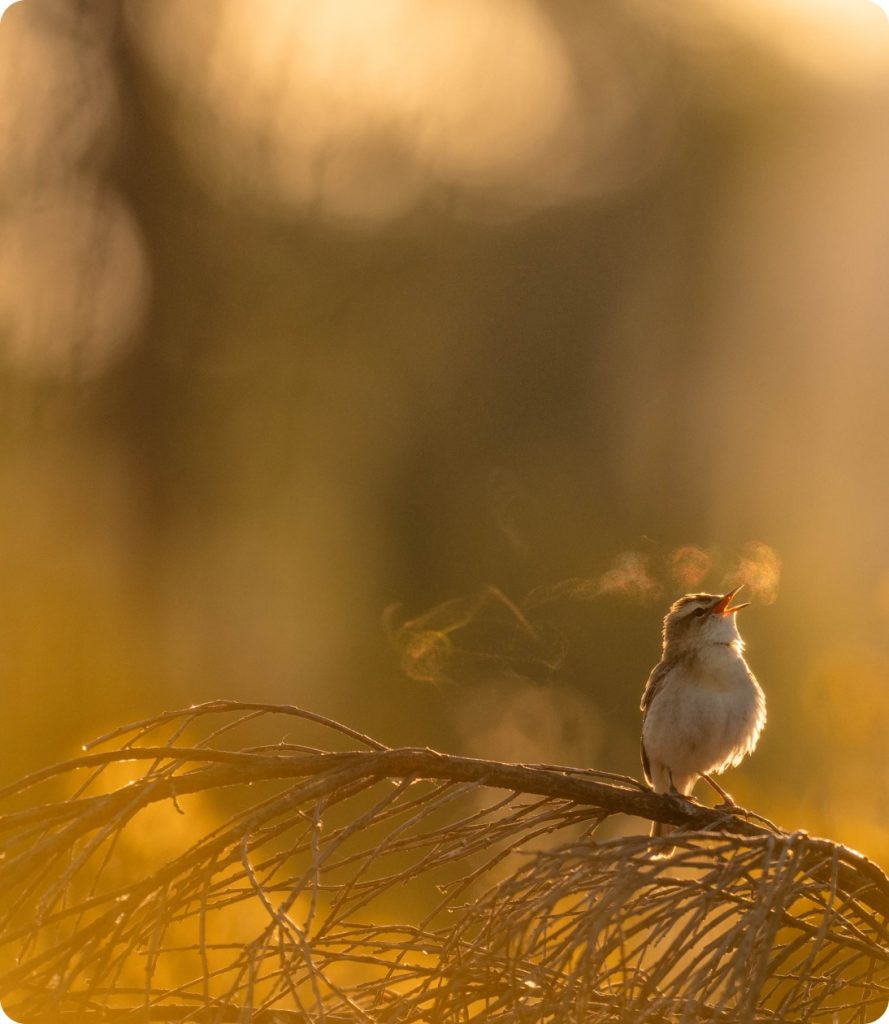
Work faster and enjoy editing
“Nik Collection’s Control Points are fun and they save a lot of time,” explains Espen.
“In this image, I used Control Points first to brighten the bird’s breath and then to darken the background. With U Point, it’s instant.”
After importing images to Lightroom, Espen’s typical approach is to make basic changes before opening an image into Nik Viveza or Nik Color Efex for the final flourish.
Once in Nik Color Efex, he’ll often use the Brilliance/Warmth filter to enhance the atmosphere, and the Pro Contrast filter helps to remove any distracting colors.
- Camera: Olympus M-1 Mark II
- Lens: 300mm f/4
- Parameters: ISO 200 - 1/1000s - f/4 - 300mm
- DxO PureRAW - Adobe Lightroom
- Nik Viveza - Nik Color Efex
I love the speed that Nik Collection 7 gives me.
I want to spend time in nature with my camera,
not sitting at my computer.
I want to spend time in nature with my camera,
not sitting at my computer.
ESPEN HELLAND, PHOTOGRAPHER
- Camera: Olympus OM-1
- Lens: 150-400mm f/4.5
- Parameters: ISO 1600 - 1/800s - f/4.5 - 400mm
- DxO PureRAW - Adobe Lightroom
- Nik Viveza - Nik Color Efex
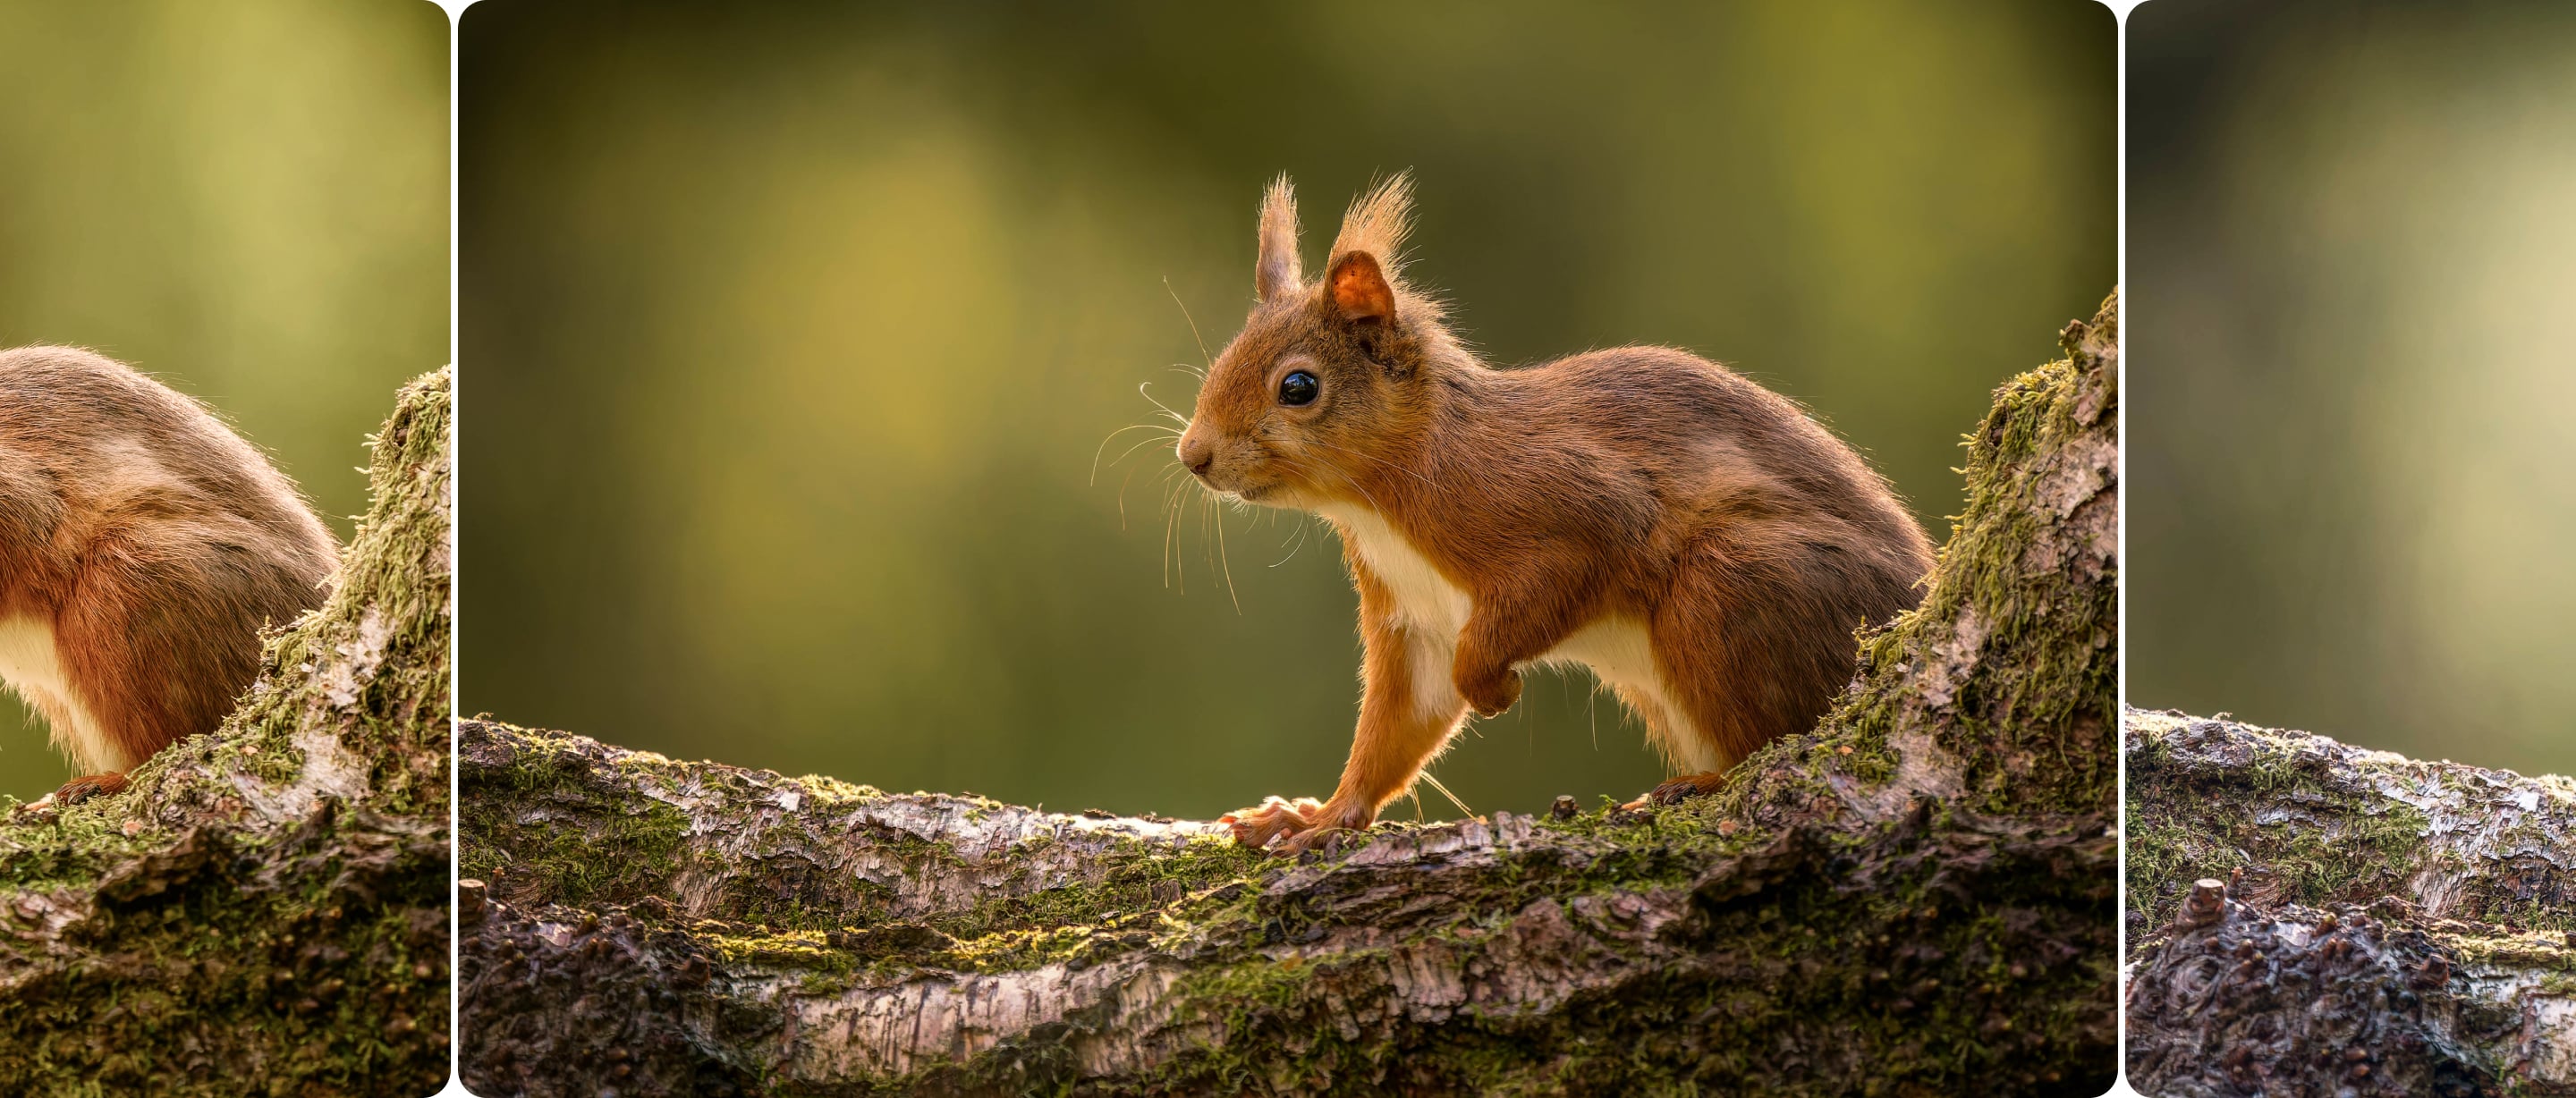
Help your subjects to stand out
without feeling unnatural
With this gorgeous red squirrel, Espen’s editing choices were based on the need to adjust the contrast to help the subject stand out.
“You need to be very careful with the quality of AI masking,” says Espen. “it can look unrealistic and lead to an image that doesn’t feel natural.”
Here, Control Points were used to reduce structure and soften details in the background, and then do the opposite for the squirrel. For Espen, this was both quicker and easier than masking in Lightroom or Photoshop.
- Camera: Olympus OM-1
- Lens: 40-150mm f/2.8
- Parameters: ISO 200 - 1/2000s - f/2.8 - 150mm
- Adobe Lightroom - Adobe Photoshop
- Nik Viveza - Nik Color Efex
Nik Collection puts you in control
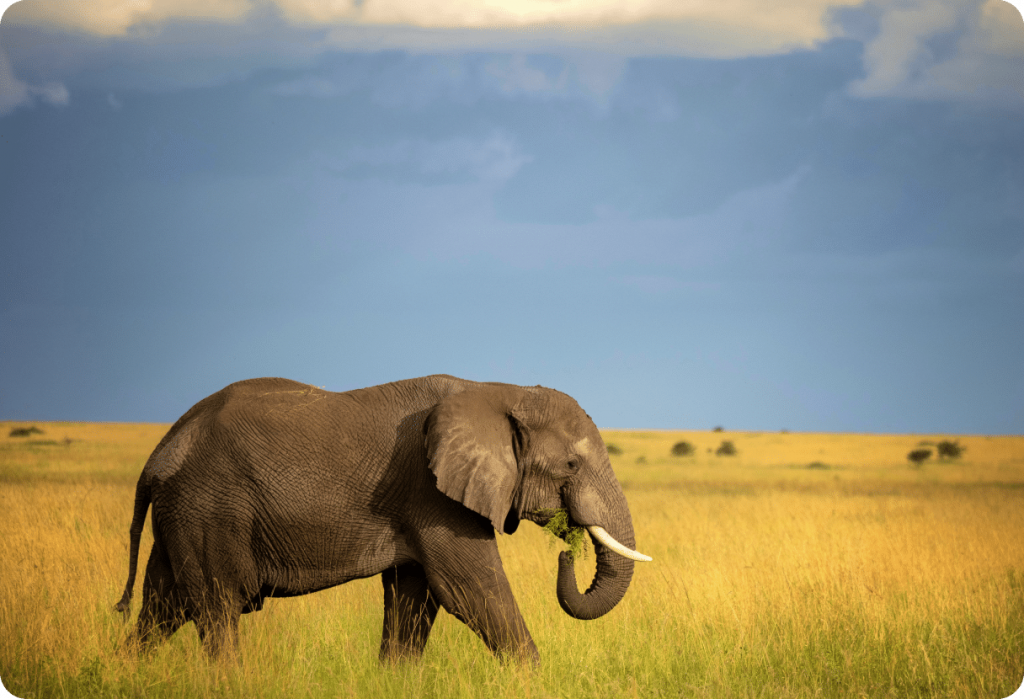
Nik Viveza was at the heart of this edit. Espen chose to lift the brightness and yellow of the grass, before darkening the sky to create more drama.
He then added contrast and structure to the elephant to give it more detail, ensuring that other parts of the image don’t compete with the main subject.
“The aim is to use what’s there to bring the best out of an image and create a natural finish,” he explains.
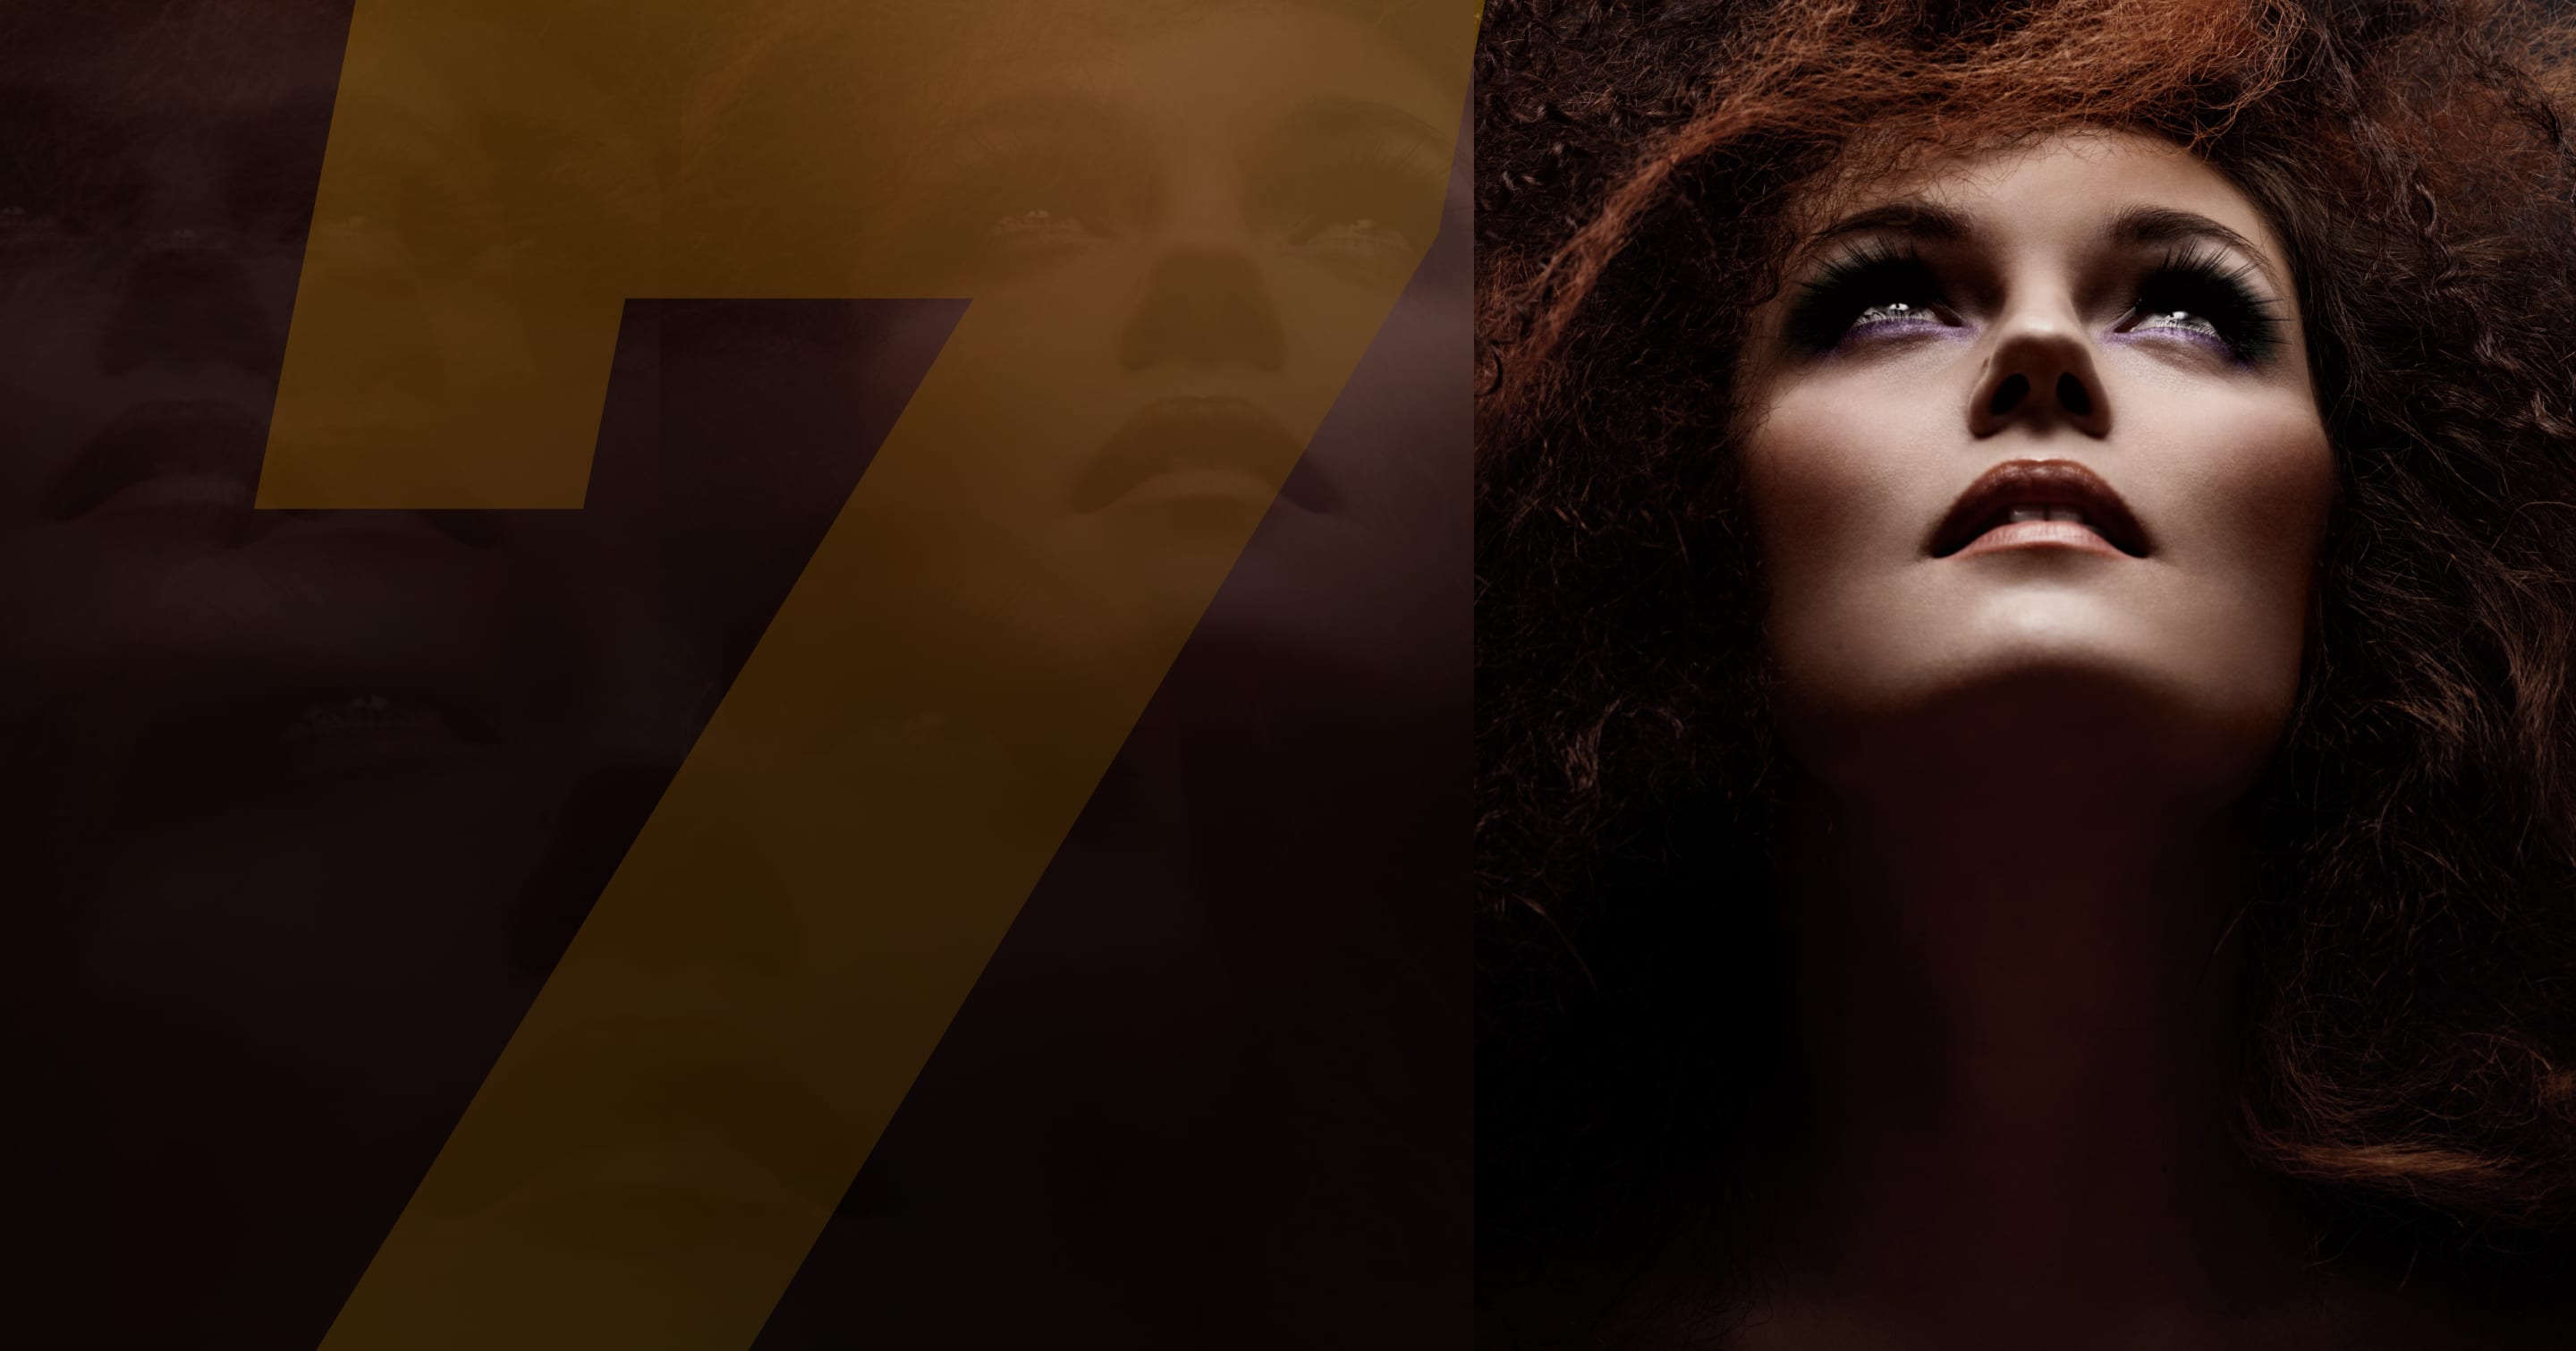
Introducing Thomas Voland,
fashion and beauty photographer

A retouching expert
Thomas is known for his skill as a retoucher, writing tutorials and running regular workshops. And for Thomas, Nik Collection brings speed to his work.
“When it comes to changing lighting and contrast, Nik Collection is about ten times faster than doing it with masks and curves in Photoshop.”
His favorite plugins are Nik Silver Efex and Nik Viveza and his ability to manipulate light — both in the studio and in the edit — is what sets his images apart.
Start with light, finish with Nik Collection
Thomas starts by getting the perfect lighting on his subjects, often with dark shadows in the background to make the model stand out.
“If I’m shooting in a small space, my trick is to use a big modifier to get nice even light across the subject’s skin. If I need the background to become darker, that’s when Nik Viveza comes in.”
For Thomas, this combination is a great way to achieve good lighting as quickly as possible. That means more time to work with your model and create fantastic photos.
- Camera: Nikon D700
- Lens: 50mm f/1.4
- Parameters: ISO 200 - 1/200s - f/5 - 50mm
- Adobe Photoshop
- Nik Viveza
If you’re a professional retoucher or fashion photographer and you’re not using Nik Collection, you’re wasting your time.
Thomas Voland, photographer

- Camera: Nikon D700
- Lens: 135 mm f/2
- Parameters: ISO 160 - 1/200s - f/16
- Adobe Photoshop
- Nik Viveza
Speed is essential
“Speed in retouching is very important,” explains Thomas. “In Nik Viveza, you just add two or three Control Points and it’s done.”
What’s more, he regularly copies edits in Nik Viveza from one image to the next, allowing him to work even faster.
Combined with Photoshop’s Smart Objects, this gives Thomas the perfect level of control, allowing him to respond to a client’s requests for small changes.
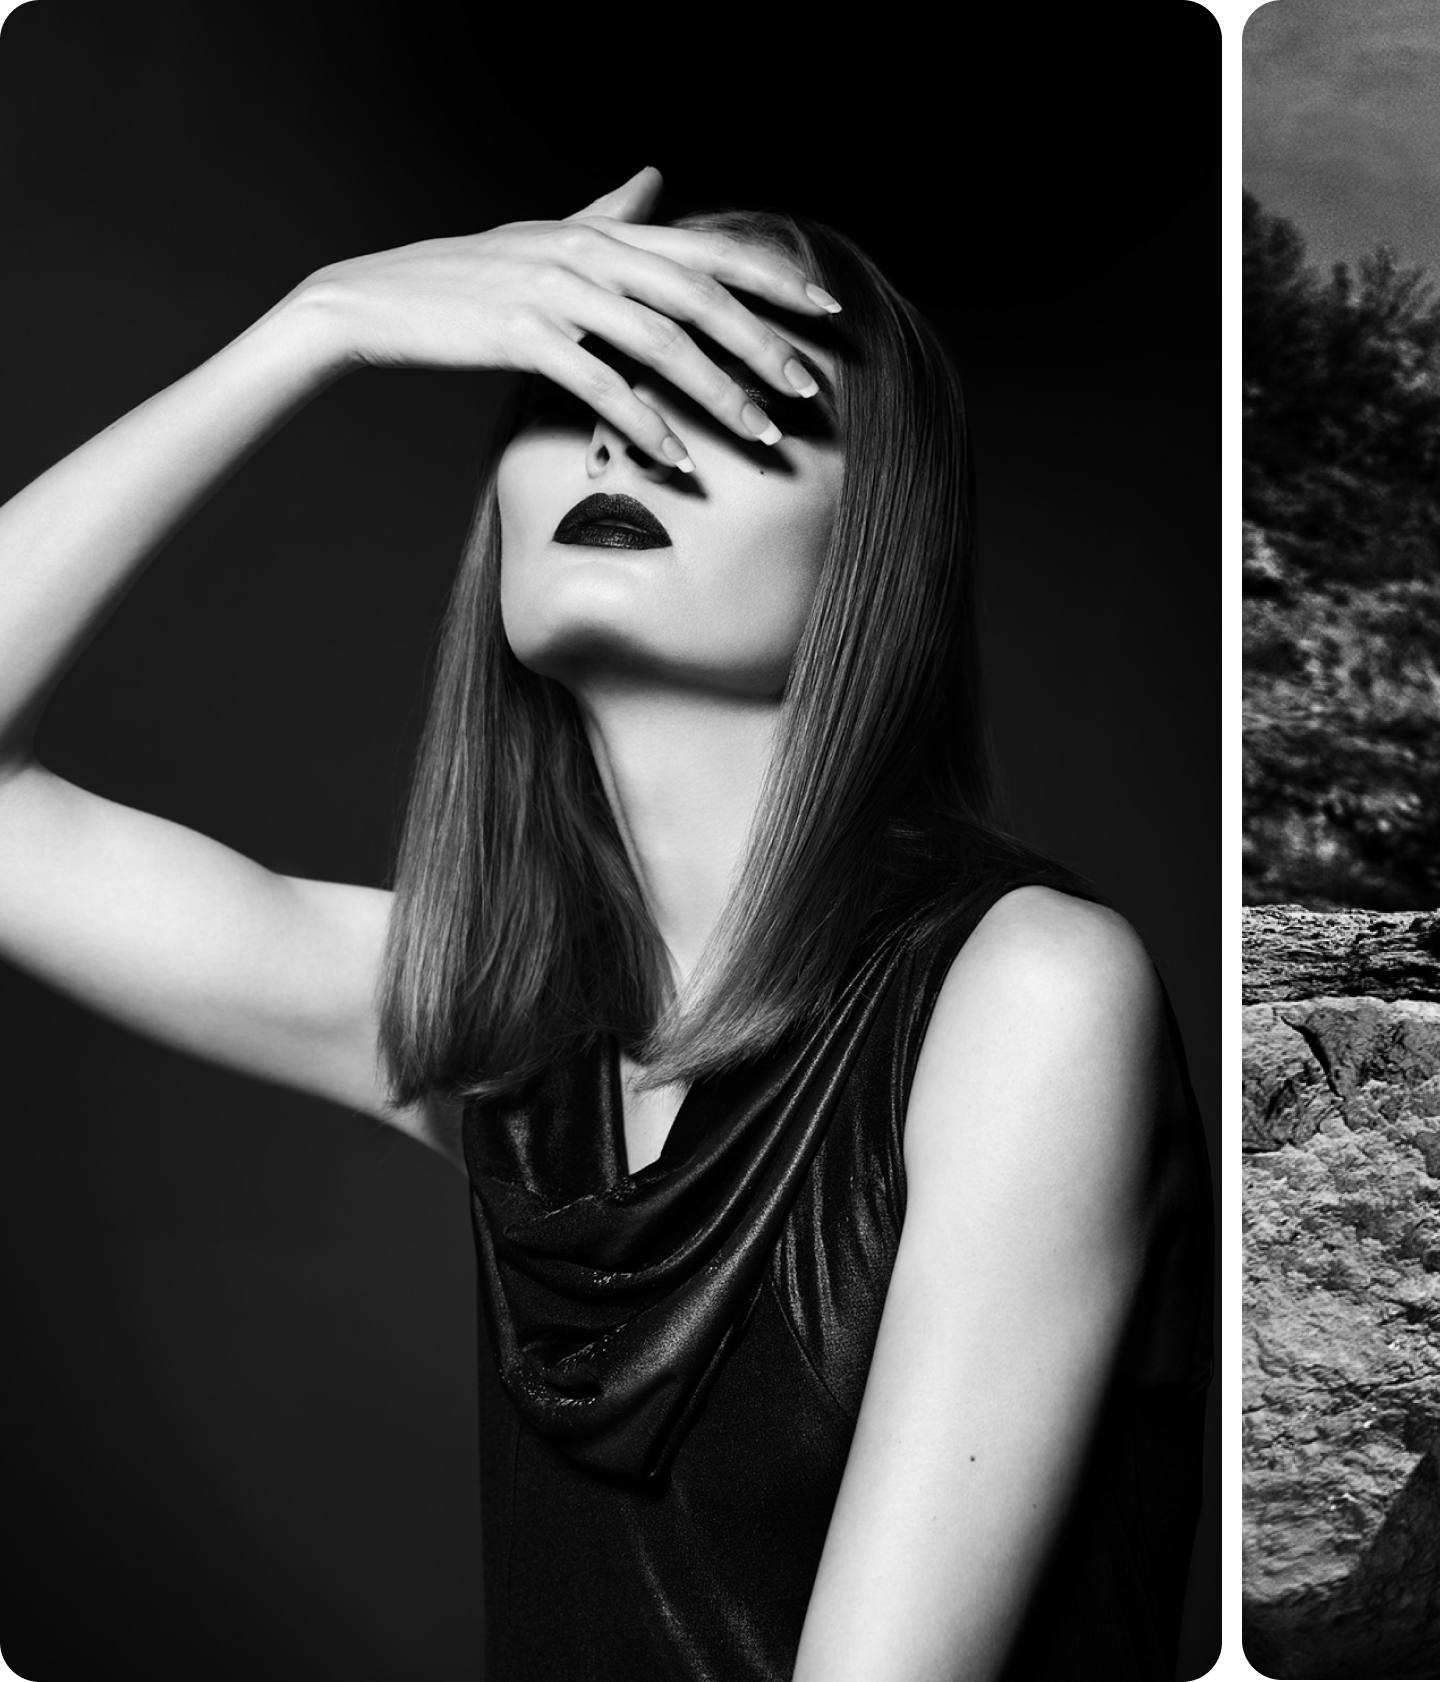
Nik Silver Efex is like nothing else
When it comes to black-and-white images, there’s nothing to match Nik Silver Efex.
“This is something that every photographer should have,” says Thomas.
“It has looks that you can’t add any other way. For example, the analog grain is perfect in the highlights and in the shadows.”
What’s more, Thomas loves how his monochrome editing can be kept on a single adjustment layer in Photoshop, allowing you to copy it to other photos and save time.
- Camera: Nikon D700
- Lens: 50mm f/1.4
- Parameters: ISO 3200 - 1/200s - f/3.5 - 50mm
- Adobe Photoshop
- Nik Silver Efex

Nik Collection 7 by DxO
The essential plugin suite for Photoshop,
Lightroom Classic, and more.